Methods to Use to Clean Albuquerque Hardwood Floors Safely – Part Two
Methods to Use to Clean Albuquerque Hardwood Floors Safely – Part One
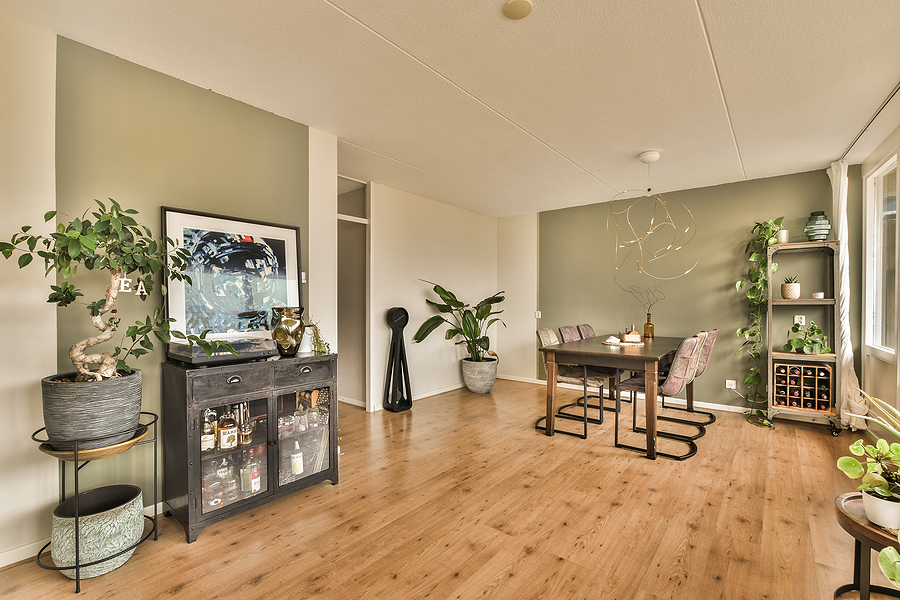
Welcome back to our guide on cleaning Albuquerque hardwood floors, part two! I cherish my hardwood floors, just like my customers. Whether they’ve been laid down recently or a century ago, there’s a sense of pride attached.
But, cleaning them? That’s where we hit a snag.
Yes, I’m talking about those pesky scratches, stubborn stains, and – oh, the horror – water damage! It takes a tender touch and some knowledge to avoid these nuisances. Yet, it’s not as daunting as you might think.
You just need to find the right cleaners and tools that work wonders for your specific floors. And voilà, soon you’ll have a cleaning routine that will make your floors sparkle just like the rest of your home.
Factors Why Hardwood Floors Require Special Care
But, why do hardwood floors need special attention? Let’s get into that.
History tells us wood and water don’t play well together. This causes a conundrum when we want to clean hardwood floors. Even a freshly finished floor can have “cupping” issues if it gets too much water. That’s when water seeps into the wood base causing it to warp. What’s more, tiny grits from our shoes or even a pass with the vacuum can lead to scratches, dents, or stains.
The key to getting around these issues is understanding your floor. Investigate what type of wood it is and the finish used. Certain water-based finishes, like water-based polyurethane, are usually more resistant to water compared to older, oil-based finishes. Also, when you’re buying hardwood floors, you’ll be educated on the relative softness or hardness of different wood types, as well as their resistance to stains and finishes.
Still puzzled about your floor type or finish? No worries. Just reach out to a local hardwood flooring contractor. They’ll guide you right. You see, there’s always a way to keep your hardwood floors gleaming and clean, without fear.
Vinegar Solution – Be Sure to Test Before Moving Forward
Honestly, it is a subject of hot debate when it comes to cleaning hardwood floors.
Should you use it? How often? Well, it works best on floors with tough water-based finishes, like polyurethane or urethane. But here’s a golden rule – always test it on a hidden spot before going all out.
Once you’ve done your spot test, here’s how to tackle the whole room:
- Mix a cup of distilled white vinegar with a gallon of water.
- Dip your mop or cloth in this blend, but remember to squeeze it out well before you touch the floor.
- Swiftly mop over the floor once and let it air dry completely.
Dish Soap for Oil Stains
Now, let’s talk grease. You drop some food, and it leaves an unsightly dark stain. Your regular cleaner is powerless against it. In comes our savior, the humble dish soap. Just like it cleans your plates, a few drops rubbed onto the spot with warm water will break down that grease. Wipe it with a clean cloth and let it dry fully. Remember, standing water is your enemy!
Deeper dark stains could mean something’s gotten past the finish. If dish soap can’t handle it, it’s time to bring in the big guns – grade #000 steel wool, the finest you can get. Buff the spot with some mineral spirits or floor wax, and watch the stain dissolve.
Mineral Oil for White Rings
You see a white stain on your hardwood floor. Relax! It often means the culprit hasn’t gotten past the finish. These marks typically disappear as they dry, like the ring left by a water glass on a wooden table.
But what if it persists? Then, we have a job on our hands.
- First, dust off the area. We need to clear any surface dirt.
- Next, grab a new cloth and pour some mineral oil on it. Gently scrub around the stain.
- Leave the oil to work its magic overnight.
- In the morning, simply wipe it off with a damp cloth.
Buff for Extreme Cleans
But what if your floors haven’t received love for a while? If there are scratches, stains, and dings everywhere, but no deep damage, it might be time for some serious buffing. Rent a buffer from your local hardware store. It’s usually around $50 per day.
Here’s how to go about it:
Sweep or vacuum first. We don’t want any grit messing up our work. Afterward, mop the floor lightly, ensuring it dries completely before you let the buffer loose. Most machines come with instructions, so give those a read to prepare your floor.
You can either run the buffer dry or use a specific hardwood floor buffing solution. Either way, it should smoothen out minor imperfections, giving your floor a polished look.
How to Prevent Hardwood Floor Damage
We all know prevention is key, right? The same goes for keeping your hardwood floors in tip-top shape.
Let me share some simple ways to keep them gleaming:
- Nix standing water – it’s your floor’s nemesis.
- Think about refinishing every decade.
- Got pets with sharp claws? Area rugs can be your best friends.
- High-traffic rooms demand your special attention.
- Stains? Don’t delay, tackle them right away!
- Limit shoe traffic. They could bring grit or cause scratches.
- Stay away from harsh chemicals or excessive cleaning.
- Make a date with your broom or vacuum every week. This keeps scratches at bay.
- All furniture legs should wear protective pads.
- Sunlight pouring in? A sunproof finish can save the day.
Remember, every floor tells a story.
With a little time and effort, you can ensure your hardwood floor’s tale is a shiny one. The process isn’t rocket science. It’s about knowing what to do, when to do it, and having the right tools.